Free blogger platform is now widely used among a lot of users who have passion on blogging precisely those who are new to this google free blogger hosting service. We have shared in a previous post how to create blogger sitemap page based on posts' tags, but now we are going to create a sitemap page in grid view style provided by google blogger itself.
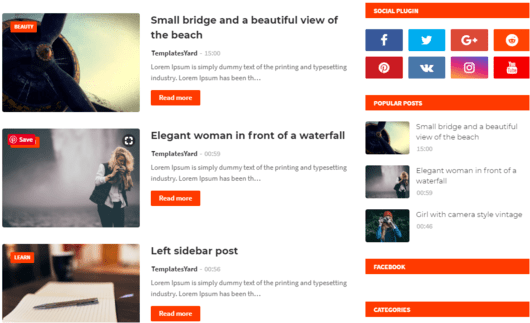
The grid style Sitemap view is actually a responsive blogger widget, it will produce all your posts' featured images and then display them automatically in grid as you can see in gif posted below all your posts will be sorted by most recent Posted post, Date created,post Label, and post Author.
Sitemap page widget is fixable which makes the code easy to be placed in any where on your blog, in separate page or just be place on sidebar, left or right as widget. The code is an iframe css styled, so can adjust and edit it per you need.

What is the importance of Sitemap for a blog
If your blog traffic not from search engines, googles, bing, yahoo or yandex and you do not care about organic traffic driven from google search, as if your all traffic is coming from social media flowers or audience, then site map may not be so important your for blog specially .xml based sitemap which is used by search crawlers or spiders to index your content and be available on search.
Sitemap page created for users is very useful to be available on your blog to make all your content in one page for your followers and those who visit your blog to navigate between content from one place.
Steps to Create a Grid Style View Sitemap Page on Blogger
As we mentioned above this code can be placed in any where on your blog, but here we are going place it in static blog page with its unique url address.
To start follow these steps:
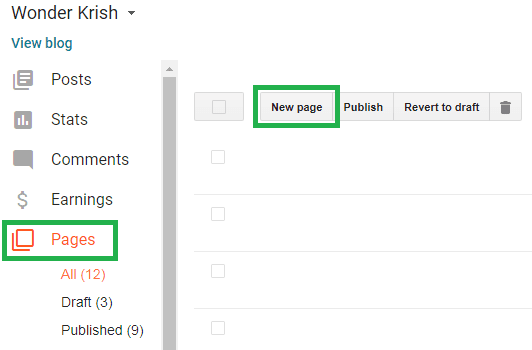
login to your main blog on blogger that you want t create this sitemap page and from the main menu scroll down to Pages and then chose to create a new page, as sown in thew photo.

Then in the next step chose HTML editor mode then add a title for your page, lets say; main-sitemap, save the page to preserve this title as your page url address which will be as follow; https://yourblog.blogspot.com/p/main-sitemap.html and to prevent blogger to set an arbitrary url as /p/blog_page_54.html.
Back to your created static sitemap page, click to edit it again html editor mode and delete all its content and paste the following code then click Save.
<style type="text/css">
.grid-sitemap
{
overflow: hidden;
position: relative;
height: 565px;
margin: 20px 0 40px 0;
	}
.grid-sitemap iframe
{
display: block;
width: 100%;
height: 680px;
margin-top: -115px;
margin-left: -5px;
 }
</style>
<div class="grid-sitemap">
<iframe src="/view/flipcard"></iframe>
</div>
After completing above steps now you can view your newly created sitemap page with all your posts listed in a Grid view Style. In the above code we use relative url to be used on any blog, you can add your blog url with its abolute absolute url.


